
Are you tired of rushing in the mornings and skipping breakfast? Do you find yourself craving a warm, delicious pancake but never have the time to make it from scratch?
ℹ️ As an Amazon Associate, I earn from qualifying purchases. If you make a purchase after clicking on a link I may earn a small commission at no extra cost to you if items are purchased.
Well, fret no more! In this blog post, I will guide you through the art of meal-prepping pancakes. By following these simple steps, you can have a stack of fluffy pancakes ready to go for the week ahead. So, let’s get started!
Step 1: Gather Your Ingredients
The first step in meal prepping pancakes is gathering all the necessary ingredients. Here’s what you’ll need:
- 2 cups all-purpose flour
- 2 tablespoons sugar
- 1 tablespoon baking powder
- 1/2 teaspoon salt
- 2 large eggs
- 1 3/4 cups milk
- 1/4 cup melted butter
- 1 teaspoon vanilla extract
Make sure you have these ingredients on hand before moving on to the next step.
Step 2: Mix Dry and Wet Ingredients Separately
In order to achieve fluffy pancakes, it is important to mix the dry and wet ingredients separately before combining them. This allows for better distribution of the ingredients and helps prevent overmixing.
In a large mixing bowl, whisk together the flour, sugar, baking powder, and salt until well combined. In a separate bowl, beat the eggs and then add the milk, melted butter, and vanilla extract. Whisk until all the wet ingredients are fully incorporated.
Step 3: Combine Dry and Wet Ingredients
Now that you have your dry and wet ingredients ready, it’s time to combine them. Create a well in the center of the dry ingredients and pour in the wet mixture.
Using a spatula (#ad) or wooden spoon, gently fold the wet ingredients into the dry ingredients until just combined. Be careful not to overmix, as this can result in tough pancakes.
Step 4: Let the Batter Rest
After combining the ingredients, it’s important to let the pancake batter rest for about 10-15 minutes. This allows the gluten in the flour to relax, resulting in lighter and fluffier pancakes.
Cover the bowl with plastic wrap or a clean kitchen towel and set it aside while you prepare your meal prep containers.
Step 5: Preheat Your Pan or Griddle
While the batter is resting, preheat your pan or griddle over medium heat. This will ensure that your pancakes cook evenly and prevent them from sticking to the surface.
Step 6: Grease Your Pan or Griddle
To prevent your pancakes from sticking, it’s important to grease your pan or griddle before cooking. You can use butter, cooking spray, or a small amount of oil for this purpose. Make sure to spread the grease evenly across the surface.
Step 7: Measure Out Pancake Portions
Using a measuring cup or ladle, portion out your pancake batter onto the preheated and greased pan or griddle. Aim for about 1/4 cup of batter per pancake, but adjust according to your preference for size.
Step 8: Cook Until Bubbles Form
Cook the pancakes until you start to see bubbles forming on the surface, which usually takes around 2-3 minutes. This indicates that the pancakes are ready to be flipped.
Step 9: Flip the Pancakes
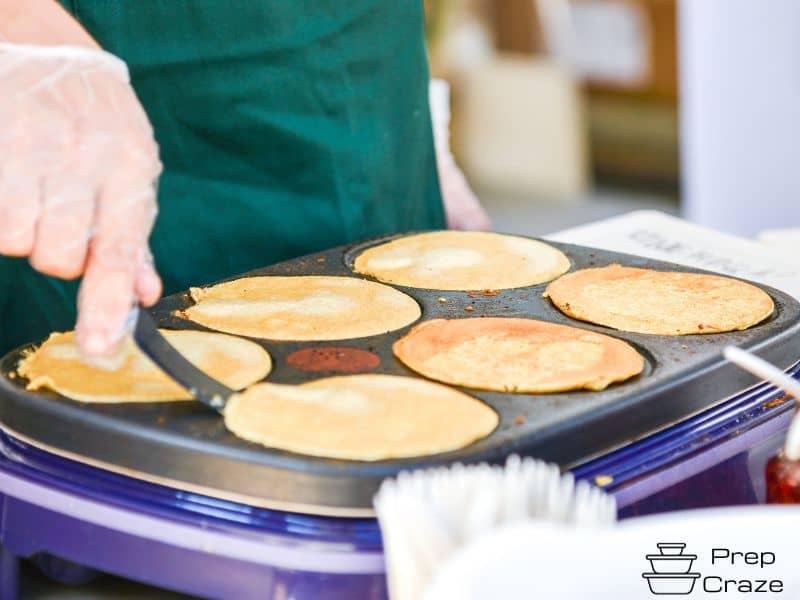
Using a spatula, carefully flip each pancake to cook the other side. Cook for an additional 1-2 minutes or until golden brown.
Step 10: Cool and Package
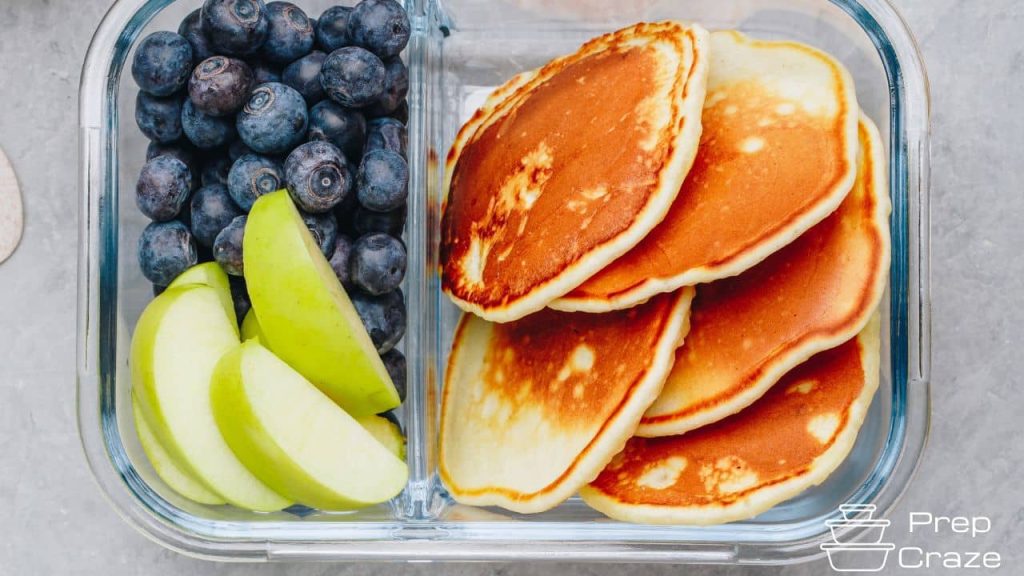
Once cooked, transfer the pancakes to a wire rack to cool completely. This will prevent them from becoming soggy when stored. Once cooled, you can choose how you’d like to package your meal prepped pancakes.
Step 11: Storing in the Fridge
If you plan on enjoying your pancakes within the next few days, storing them in the refrigerator is a convenient option. Place the cooled pancakes in an airtight container or resealable bags, separating each pancake with parchment paper or wax paper (#ad) to prevent sticking.
Step 12: Storing in the Freezer
If you want to have pancakes available for longer periods, freezing them is the way to go. Wrap each cooled pancake individually in plastic wrap or place them in freezer-safe bags, ensuring all air is removed before sealing. Stacking frozen pancakes between layers of parchment paper can also help prevent freezer burn.
Step 13: Reheating From the Fridge
To reheat pancakes from the refrigerator, simply remove the desired number of pancakes from their packaging and place them on a microwave-safe plate. Heat them in the microwave for about 30 seconds per pancake, or until warmed through.
You might like: Meal prep without a microwave
Step 14: Reheating From the Freezer
If you’re reheating pancakes from the freezer, there are a few methods you can use:
- Microwave: Remove the desired number of frozen pancakes from their packaging and place them on a microwave-safe plate. Microwave on high for about 1-2 minutes, or until heated through.
- Oven: Preheat your oven to 350°F (175°C). Place the frozen pancakes on a baking sheet and bake for approximately 10 minutes, or until warmed through.
- Toaster: For a quick and crispy option, pop your frozen pancakes directly into the toaster. Use a low to medium setting and toast until warm and golden brown.
Step 15: Adding Toppings and Enjoying
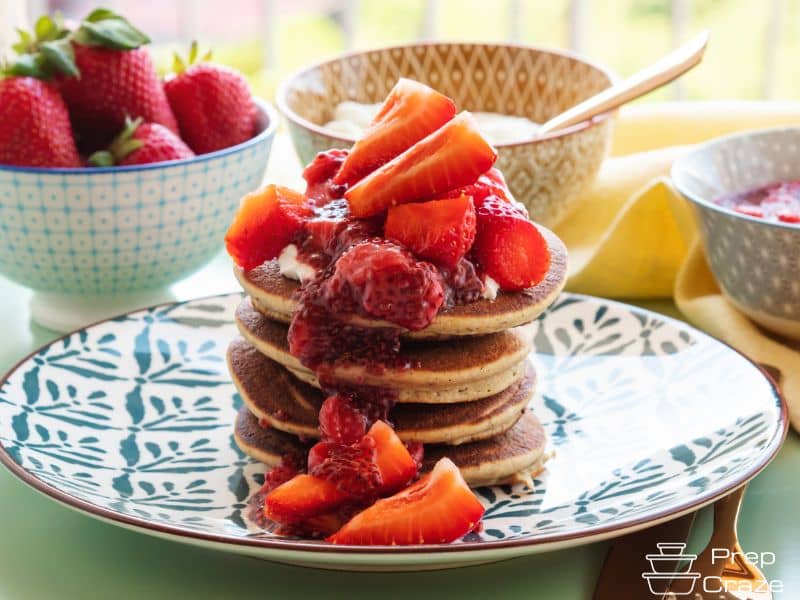
Once reheated, it’s time to add your favorite toppings and enjoy your meal prepped pancakes. Whether you prefer classic maple syrup, fresh fruits, or a dollop of whipped cream, the choice is yours!
Step 16: Customizing Your Pancakes
Don’t be afraid to get creative with your meal prepped pancakes. You can easily customize them by adding various ingredients to the batter, such as:
- Berries: Incorporate fresh or frozen berries into the batter for bursts of fruity goodness.
- Chocolate Chips: Sprinkle chocolate chips onto each pancake for a sweet indulgence.
- Nuts: Add some crunch by mixing chopped nuts, such as walnuts or pecans, into the batter.
- Cinnamon: For a warming touch, stir in some ground cinnamon or other spices like nutmeg or cardamom.
The possibilities are endless — from super fluffy pancakes to banana oat blender pancakes or apple cinnamon pancakes.
Step 17: Portion Control
Meal-prepping pancakes is not only a time-saver but also a great way to practice portion control. By pre-portioning your pancakes, you can easily keep track of your serving sizes and ensure that you’re not overindulging.
Step 18: Experimenting with Flours
If you’re looking to switch things up, don’t hesitate to experiment with different types of flour. While all-purpose flour is commonly used, you can try using whole wheat flour, almond flour, or even coconut flour for a healthier twist.
Step 19: Make Your Own Pancake Mix
If you’re a fan of convenience, consider making your own pancake mix. Simply combine the dry ingredients (flour, sugar, baking powder, and salt) in a large batch and store them in an airtight container.
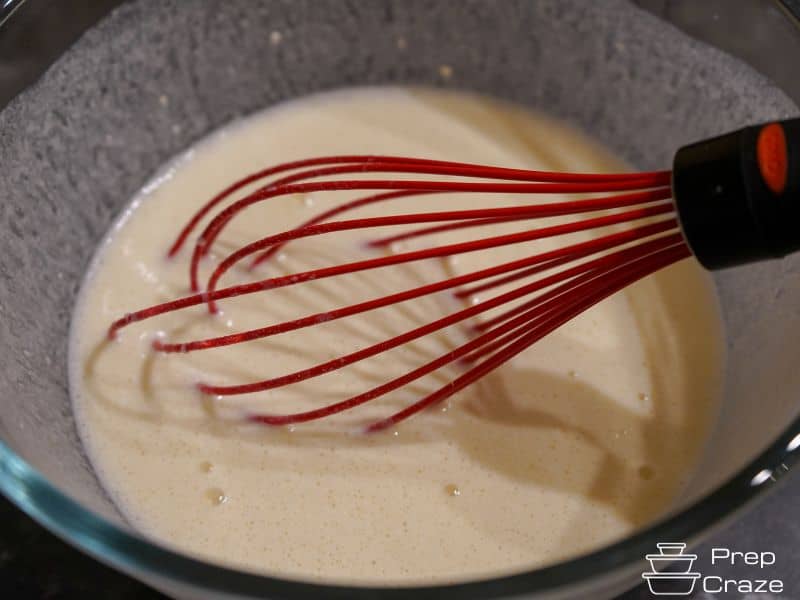
When you’re ready to make pancakes, just measure out the desired amount of mix and add the wet ingredients.
Step 20: Adding Protein
If you’re looking to increase the protein content of your pancakes, there are several options to consider:
- Protein Powder: Add a scoop of your favorite protein powder to the pancake batter.
- Greek Yogurt: Replace a portion of the milk with Greek yogurt, which adds extra protein and makes the pancakes even fluffier.
- Egg Whites: Substitute some or all of the whole eggs with egg whites for a higher protein content.
These additions will not only boost the nutritional value of your pancakes but also keep you feeling satisfied for longer.
Step 21: Making Vegan Pancakes
If you follow a vegan lifestyle, fear not! You can still enjoy meal prepped pancakes. Simply substitute the eggs and dairy milk with plant-based alternatives:
- Egg Replacer: Use a commercial egg replacer (#ad) or make your own using ingredients like mashed banana, applesauce, or flaxseed meal mixed with water.
- Plant-Based Milk: Replace dairy milk with almond milk, soy milk, oat milk, or any other plant-based milk of your choice.
- Vegan Butter or Oil: Use vegan butter or oil in place of regular butter in the recipe.
With these substitutions, you’ll have delicious vegan pancakes ready to go.
Step 22: Gluten-Free Options
If you have a gluten intolerance or follow a gluten-free diet, there are numerous gluten-free flours available that can be used in place of all-purpose flour. Some popular options include:
- Rice Flour
- Almond Flour
- Buckwheat Flour
- Quinoa Flour
- Coconut Flour
Experiment with different combinations to find the perfect gluten-free pancake recipe for you.
Step 23: Fun Shapes and Sizes
Pancakes don’t have to be limited to the traditional round shape. Get creative by using cookie cutters to make fun shapes like hearts or stars.
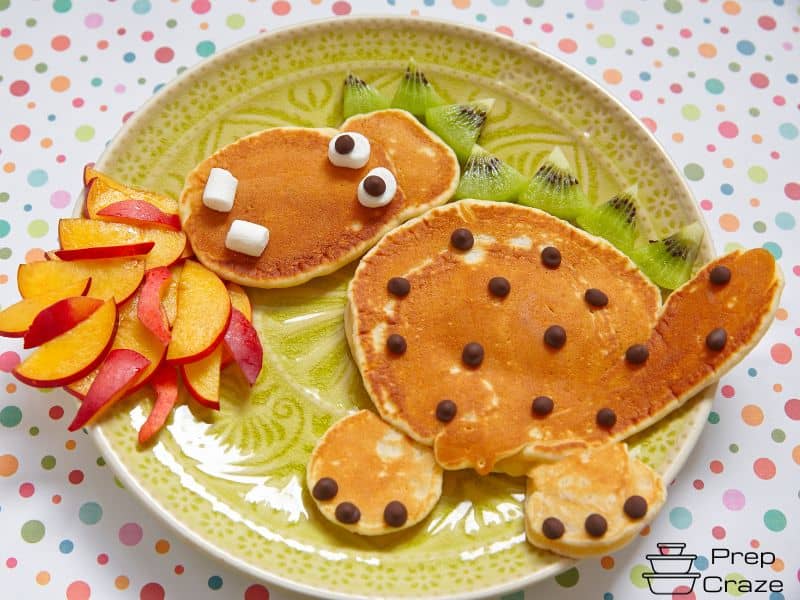
You can also experiment with different sizes, making bite-sized pancakes for a brunch party or giant pancakes for a weekend treat.
Step 24: Don’t Forget the Syrups
No pancake is complete without a delicious syrup drizzled on top. While maple syrup is a classic choice, there are many other options to explore:
- Fruit Syrups: Experiment with homemade fruit syrups using berries, peaches, or citrus fruits.
- Honey: Drizzle some natural honey over your pancakes for a touch of sweetness.
- Nut Butters: Spread a layer of peanut butter, almond butter, or any other nut butter on your pancakes.
- Yogurt: Top your pancakes with a dollop of Greek yogurt for added creaminess.
Get creative and try different combinations to find your favorite pancake topping.
Step 25: Enjoying Anytime
Now that you’ve mastered the art of meal-prepping pancakes, you can enjoy them anytime. Whether it’s a quick breakfast on a busy morning, a satisfying post-workout snack, or a lazy weekend brunch, your meal-packed pancakes will always be there to satisfy your cravings.
So go ahead, get in the kitchen, and start meal prepping those delicious pancakes!
FAQs
Can I use whole wheat flour instead of all-purpose flour?
Yes, you can substitute whole wheat flour for all-purpose flour to add a healthier twist to your pancakes.
Can I freeze the pancake batter?
It is not recommended to freeze the pancake batter as it may affect the texture and rise of the pancakes.
How long can I store the meal prepped pancakes in the refrigerator?
You can store the meal prepped pancakes in the refrigerator for up to 4-5 days.
Can I reheat the pancakes in a toaster oven?
Yes, you can reheat the pancakes in a toaster oven. Just adjust the settings to low or medium and toast until warm.
Can I add fruit to the pancake batter?
Yes, you can incorporate fresh or frozen berries into the pancake batter for added flavor and texture.
Can I make vegan pancakes using this recipe?
Yes, you can make vegan pancakes by substituting the eggs and dairy milk with plant-based alternatives like mashed banana and almond milk.
How can I make gluten-free pancakes?
To make gluten-free pancakes, you can use gluten-free flours like rice flour, almond flour, or coconut flour in place of all-purpose flour.
Can I add protein powder to the pancake batter?
Yes, you can add a scoop of protein powder to the pancake batter to increase the protein content.
How can I make smaller or larger pancakes?
To make smaller pancakes, use less batter per portion. For larger pancakes, use more batter per portion.
Can I reheat the frozen pancakes in the oven?
Yes, you can reheat the frozen pancakes in the oven by preheating it to 350°F (175°C) and baking them for approximately 10 minutes or until warmed through.


