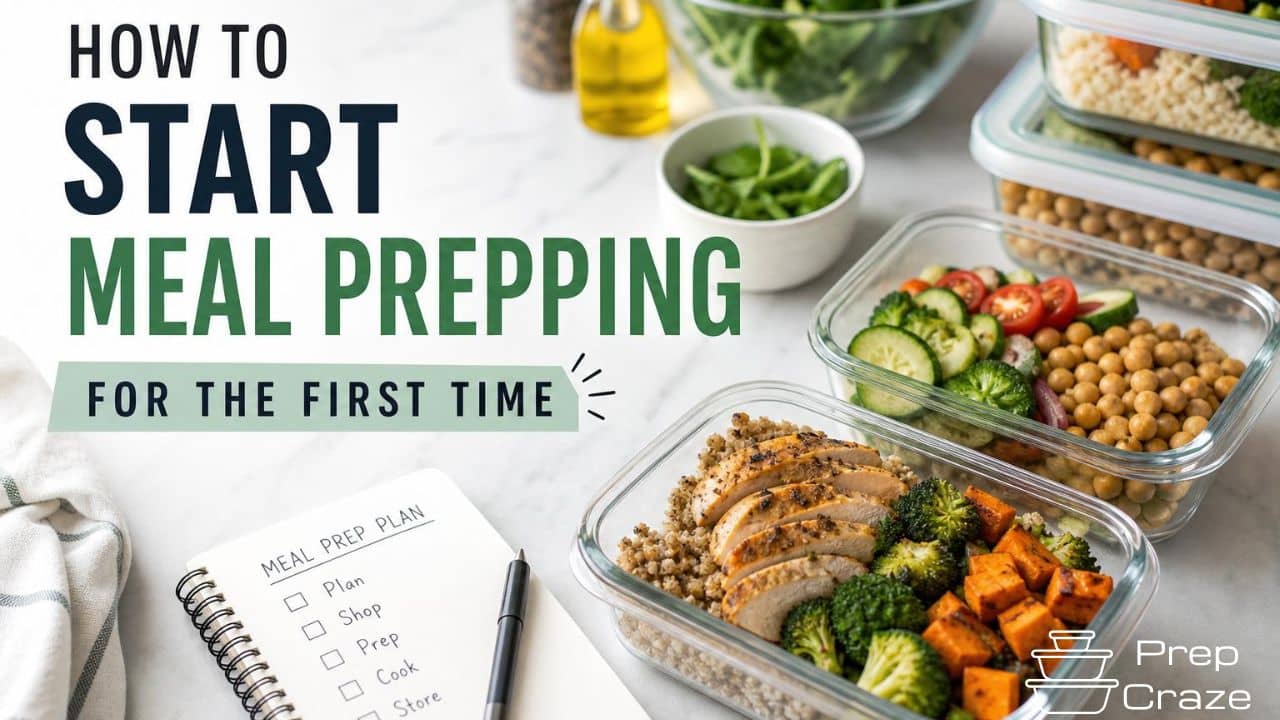
It’s Sunday night and your fridge looks like a grain graveyard. But imagine a week where dinner happens in minutes, bowls stay happy in the fridge, and you actually enjoy leftovers. Batch cooking grains is the secret sauce. It’s simple, flexible, and saves you both time and money. Ready to become a grain-guru without losing your soul to a saucepan?
Why batch cooking grains even matters
Grains are the backbone of so many meals: veggie bowls, hearty stir-fries, creamy soups, and crunchy salads. When you batch cook, you unlock:
- Time freedom: you cook once, eat all week.
- Consistency: reliably fluffy or chewy texture, every single time.
- Less waste: use up those lonely veggies and half jars of miso you’ve been avoiding.
If you’re nodding along, FYI you’re not alone. Batch-cooked grains are basically kitchen magic—without the wand, just a pot and a plan.
Choose the right grains for your week

Not all grains behave the same. Your week will thank you if you pick a few dependable options.
Best all-around grains
- Quinoa: cooks quickly, fluffy, and high-protein. It’s a top pick for bowls and salads.
- Brown rice: sturdy, nutty, and versatile. Great with vegetables, beans, or curries.
- Farro or barley: chewier texture, nice bite for robust dishes.
Faster options when time’s tight
- Instant or quick-cooking oats for breakfast bowls or savory swaps.
- Pre-cooked or microwaveable grains that you can finish refining on the stove.
Less common but worth trying
- Couscous or bulgur for ultra-quick salads.
- Buckwheat or millet for variety and little nuttiness.
Prep like a pro: kitchen setup and timing
The key to success is a simple rhythm. You don’t need a fancy setup—just a plan and a few good tools.
Tools that actually help
- Large pot with a tight lid or a rice cooker (you can’t go wrong with either).
- Measuring cups and a sturdy wooden spoon.
- Instant-read thermometer (optional but nice if you’re into precise texture).
- Storage containers with tight lids—glass or BPA-free plastic works fine.
Water to grain ratios that won’t betray you
- Quinoa: rinse well, then use 2 cups water for 1 cup quinoa.
- Brown rice: 2 ¼ cups water for 1 cup rice, simmer 40–45 minutes.
- Farro: 3 cups water for 1 cup farro, simmer 25–40 minutes depending on variety.
A quick tip: add a pinch of salt and a splash of oil or butter for flavor and to keep grains from sticking.
Cook once, eat many: batch-cooking process

Here’s the straightforward workflow to keep your week stress-free.
- Rinse and prep: rinse grains that benefit from washing (like quinoa) and remove any odd bits.
- Measure and boil: start with your chosen grain in a large pot. Add the right amount of water, a pinch of salt, and a little fat if you like.
- Simmer and rest: cover and simmer until tender. Remove from heat and let sit a few minutes for fluffiness.
- Cool down fast: spread on a tray or sheet pan to cool quickly and prevent sogginess.
- Portion and store: portion into meal-sized containers. Label with date and grain type.
How to keep texture from going limp
- Cool grains quickly to stop the cooking process.
- Store with a paper towel in the container to absorb moisture.
- Consider adding a splash of oil when reheating to refresh the texture.
Flavor boosters that don’t steal your time
Grains love a little personality. A tiny add-in goes a long way, especially when you’re reheating later.
Make-ahead flavor shortcuts
- Cooked aromatics: sauté onions, garlic, and spices in advance and mix into grains as needed.
- Herbs and citrus: a squeeze of lemon or lime, chopped parsley, or dill brightens everything.
- Umami boosters: soy sauce, miso, nutritional yeast, or a splash of broth during reheating.
Texture booster options
- Fold in chopped veggies after reheating to keep a crisp bite.
- Stir in nuts, seeds, or toasted coconut for crunch and flavor depth.
Meal ideas that actually get eaten

Think about your week’s typical days and how you’ll use the grains.
Quick weekday bowls
- Brown rice + roasted veggies + chickpeas + tahini drizzle.
- Quinoa + black beans + corn + avocado + lime.
Hearty lunches you’ll look forward to
- Farro or barley with mushrooms, spinach, and parmesan—great on its own or topped with a fried egg.
- Grain salads: mix cooled grains with cucumber, tomatoes, feta, olives, and a lemony dressing.
Make-ahead dinners
- One-pan roasted veggie bowls over warmed quinoa or farro.
- Stir-fries with a bed of rice or barley—keep proteins separate if you’re batching.
Storage, safety, and reheating tips
No one wants soggy leftovers or, worse, food safety drama.
Storage best practices
- Cool grains quickly, then store in airtight containers in the fridge for up to 4–5 days.
- Freeze portions for longer storage—done with freezer-safe bags or containers.
- Label everything so you can see what’s what at a glance.
Reheating without losing texture
- Stovetop method: reheat with a splash of water or broth, cover, and fluff with a fork.
- Microwave hack: add a little water, cover, and heat in short bursts to avoid drying out.
- To keep fluffy: a quick stir with a fork after heating helps separate grains.
Common pitfalls and how to dodge them
We all trip up now and then. Here’s the cheat sheet to stay on track.
Pitfall: overcooked or mushy grains
- Measure carefully and don’t be afraid to set a timer. Less is more with some grains—you can always cook a little longer, not the other way around.
Pitfall: under-seasoned grains
- Season during cooking and finish with a bright squeeze of citrus or a splash of soy sauce.
Pitfall: boring textures
- Mix in crunchy toppings or fold in roasted veggies for contrast.
FAQ
How much grain should I batch for a week?
Plan for about 1/2 to 1 cup uncooked grain per person per day, depending on how grain-forward your meals are. Cook a little extra for surprises and hungry days. FYI, leftovers are your friend here.
Can I batch multiple grains at once?
Yes, but you’ll want to stage them so you don’t crowd your pot. Start with grains that take longer to cook (like brown rice or farro) and add quicker-cooking options later. A little planning saves you from a grainy fiasco.
What’s the best way to reheat with minimal loss of texture?
Reheat on the stove with a splash of water or broth and a cover, or use the microwave with a damp paper towel over the dish. Stir halfway through. This helps keep the grains fluffy instead of drying out.
Are ancient grains worth it for batch cooking?
Totally depending on your taste. They add variety and nutrients, but they can be pricier and sometimes chewier. If you love them, batch-cook them alongside more forgiving grains for balance.
How long do batch-cooked grains stay tasty?
Typically 4–5 days in the fridge. For longer storage, freeze individual portions. Labeling helps you avoid the “which grain is this again?” moment.
Conclusion
Batch cooking grains isn’t rocket science, it’s a tiny bit of planning and a willingness to admit you enjoy easy dinners. With the right grains, a solid routine, and a handful of flavor boosters, you’ll glide through the week with meals that feel homemade without the last-minute chaos. IMO, the payoff is worth every pot scrub. So grab your pot, pick a grain lineup, and start cooking once for a week that actually tastes like you’ve got your life together. You’ve got this.