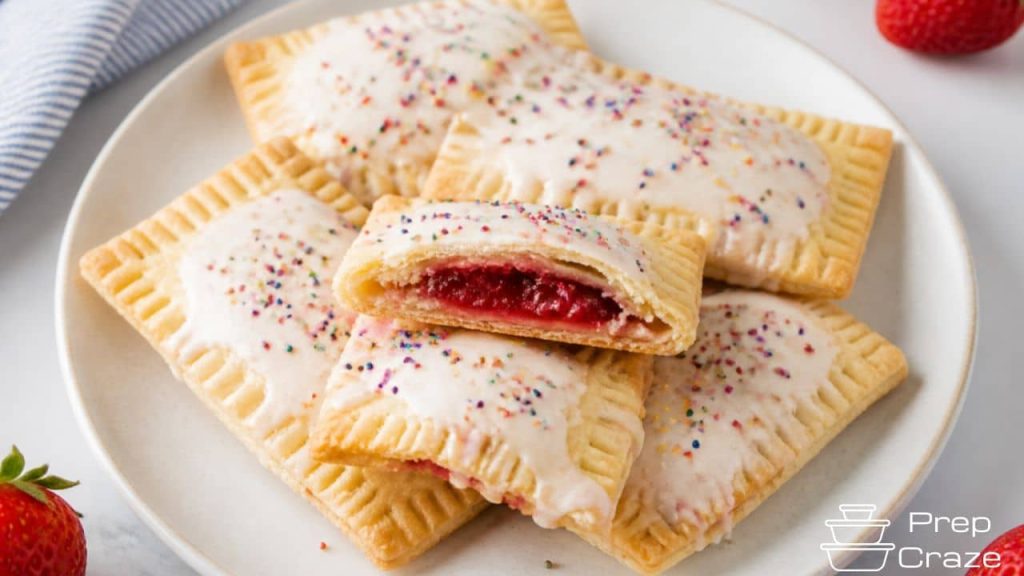
If you grew up loving toaster pastries, this recipe will make you smile. These easy homemade pop tarts use store-bought pie crust, a simple filling, and a quick glaze you can whisk together in a minute. They bake up flaky, golden, and just sweet enough.
No special equipment, no long chilling steps, and no fuss. They’re great for weekend breakfasts, lunchbox treats, or a cozy afternoon snack with coffee.
What Makes This Special
These pop tarts feel nostalgic, but they’re so much better than anything from a box. The pie crust bakes into tender, flaky layers that still hold their shape in the toaster.
You get to control the sweetness and choose your favorite fillings, from strawberry jam to chocolate hazelnut. The shortcut pie crust keeps things fast, while a simple egg wash and fork-crimped edges make them look bakery-made. Best of all, you can freeze them unbaked or baked, so you’re always one step away from a warm, homemade pastry. If you enjoy meal prepping your mornings, baking a double batch and stashing them in the freezer is a game-changer.
What You’ll Need
- Pie crust: 2 refrigerated pie crusts (store-bought) or about 1 pound homemade pie dough
- Filling (choose one):
- 1/2 cup thick fruit jam or preserves (strawberry, raspberry, blueberry, or apricot)
- OR 1/2 cup chocolate hazelnut spread
- OR 1/2 cup cinnamon-sugar paste (2 tablespoons softened butter + 1/4 cup brown sugar + 1 teaspoon cinnamon)
- OR 1/2 cup peanut butter mixed with 2 tablespoons honey
- Cornstarch: 1–2 teaspoons (optional, to thicken runny jam)
- Egg wash: 1 egg beaten with 1 tablespoon milk or water
- For the glaze:
- 1 cup powdered sugar
- 1–2 tablespoons milk (or cream)
- 1/2 teaspoon vanilla extract
- Pinch of salt
- Optional: 1–2 teaspoons jam for a pink glaze, or 1/2 teaspoon cinnamon for a cinnamon glaze
- Sprinkles (optional but fun)
- Flour for dusting the counter
- Tools: rolling pin, baking sheet, parchment paper, fork, pastry brush, small knife or pizza cutter
Instructions

- Preheat the oven to 375°F (190°C). Line a baking sheet with parchment.
- Prep the filling.
If your jam is runny, stir in 1 teaspoon cornstarch. If making cinnamon-sugar, mix the softened butter, brown sugar, and cinnamon until smooth.
- Roll the crust. Unroll pie crusts onto a lightly floured surface.
Gently roll each one to an even 1/8-inch thickness and into more of a rectangle to minimize scraps.
- Cut rectangles. Use a ruler and a sharp knife or pizza cutter to cut 3×4-inch rectangles. Aim for 16 rectangles total (to make 8 pop tarts). Consistent sizing helps them seal well.
- Arrange bottoms.
Place half the rectangles on the prepared baking sheet. Brush each with a light layer of egg wash, keeping a 1/4-inch border clean around the edges. This helps glue the top on.
- Add filling.
Spoon about 1 to 1½ tablespoons filling into the center of each bottom piece. Don’t overfill. Leave that 1/4-inch border so the pop tarts don’t burst.
- Top and seal. Place a second rectangle over each.
Press gently to remove air pockets, then use a fork to crimp all around the edges.
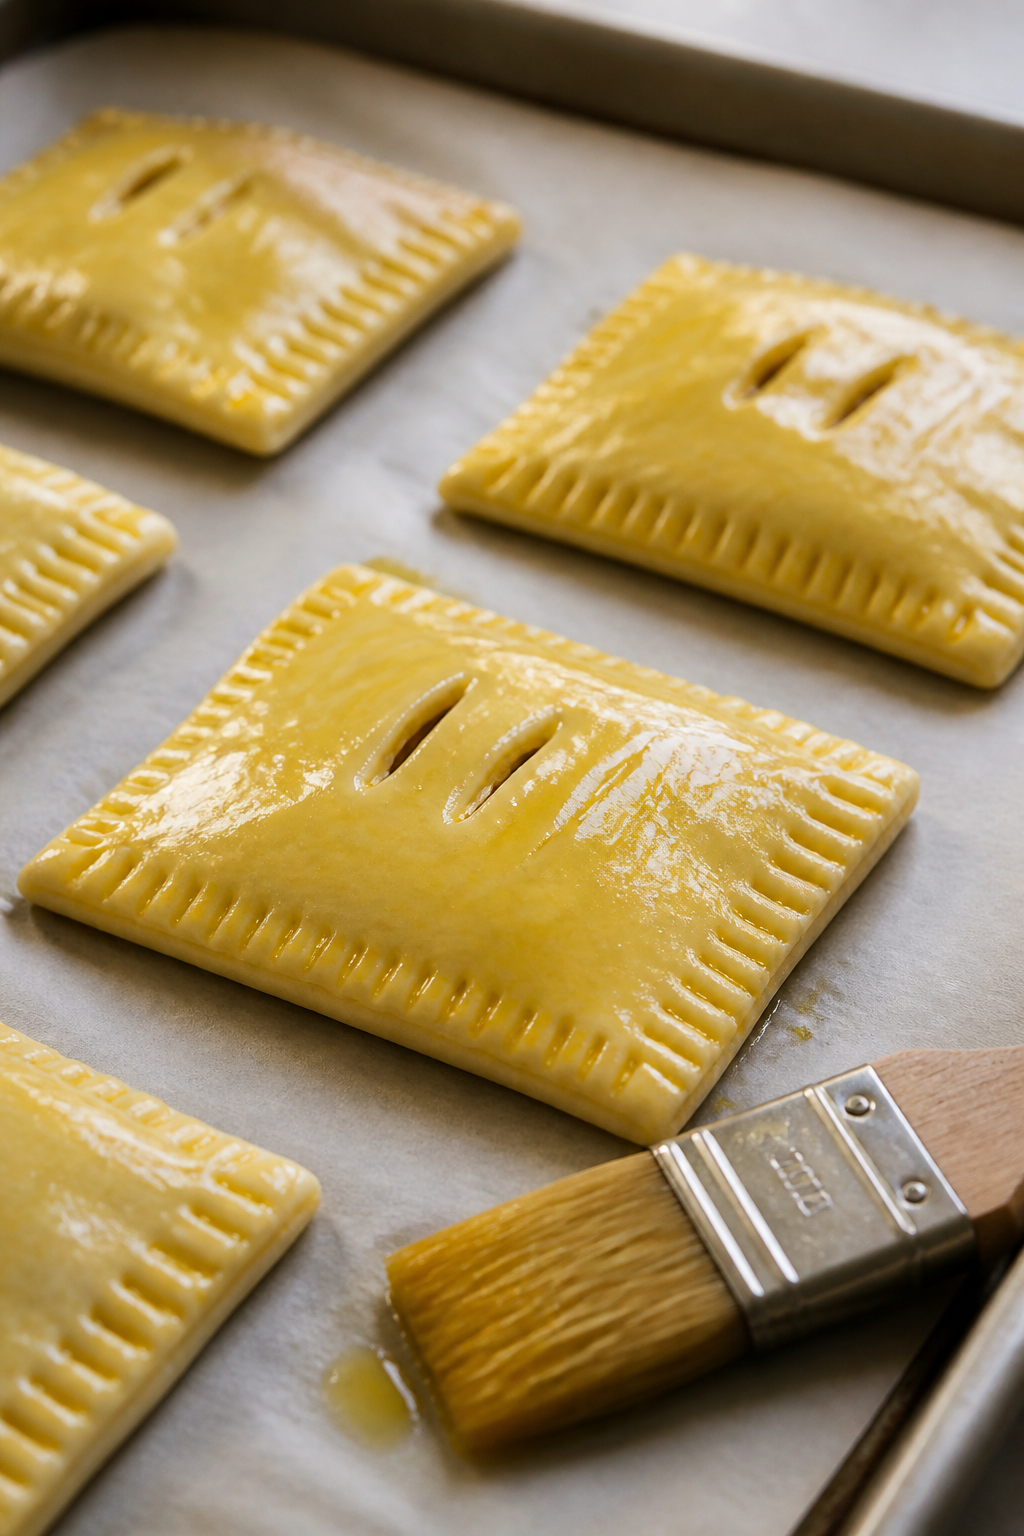
- Vent and brush. Use a knife to cut 2–3 small slits on top of each pastry. Brush the tops with the remaining egg wash for shine and color.
- Bake for 18–22 minutes, or until golden brown and crisp at the edges.
If some filling leaks, that’s okay—it’ll still taste great.
- Cool before glazing. Let the pop tarts cool on the pan for 10 minutes, then transfer to a rack. They should be warm but not hot before you glaze.
- Make the glaze.
Whisk powdered sugar, milk, vanilla, and a pinch of salt until smooth and spreadable. Adjust with a few drops more milk if needed. For flavor variations, whisk in jam or cinnamon.
- Glaze and decorate.
Spoon or spread the glaze over the tops. Add sprinkles right away so they stick. Let set 10–15 minutes before serving.
Keeping It Fresh
Let glazed pop tarts set completely before storing.
For short-term, keep them in an airtight container at room temperature for up to 2 days. For longer storage, refrigerate up to 5 days or freeze up to 2 months. Reheat in a toaster oven or regular oven at 350°F (175°C) for 6–8 minutes.
If you want crisp edges, avoid microwaving; it softens the crust. Check out our guide on how to keep meal prep fresh for more storage tips that work for baked goods like these.
Why This is Good for You
These homemade pop tarts aren’t health food, but they’re better than the boxed kind in a few simple ways. You control the sweetness, which means you can use less sugar in the filling and glaze. Choose real-fruit jams, quality nut butters, or even add chia seeds to jam for fiber. And because you’re baking at home, there are no unpronounceable additives or mystery flavors—just familiar ingredients from your pantry.
What Not to Do
- Don’t overfill.
Too much filling means leaks and soggy edges.
- Don’t skip the vents. A couple small slits prevent steam from busting the seams.
- Don’t glaze while hot. Hot pastries melt the glaze into a thin, sticky mess.
- Don’t forget the egg wash.
It helps seal and gives that golden, glossy finish.
- Don’t use runny jam without thickening. Stir in cornstarch or simmer jam for a minute to reduce it.
- Don’t cut uneven pieces. Mismatched rectangles make sealing tough and cause leaks.
Variations You Can Try
- Strawberry Milk Pop Tarts: Use strawberry jam inside.
Tint the glaze pink with 1 teaspoon jam and a splash of milk. Add rainbow sprinkles.
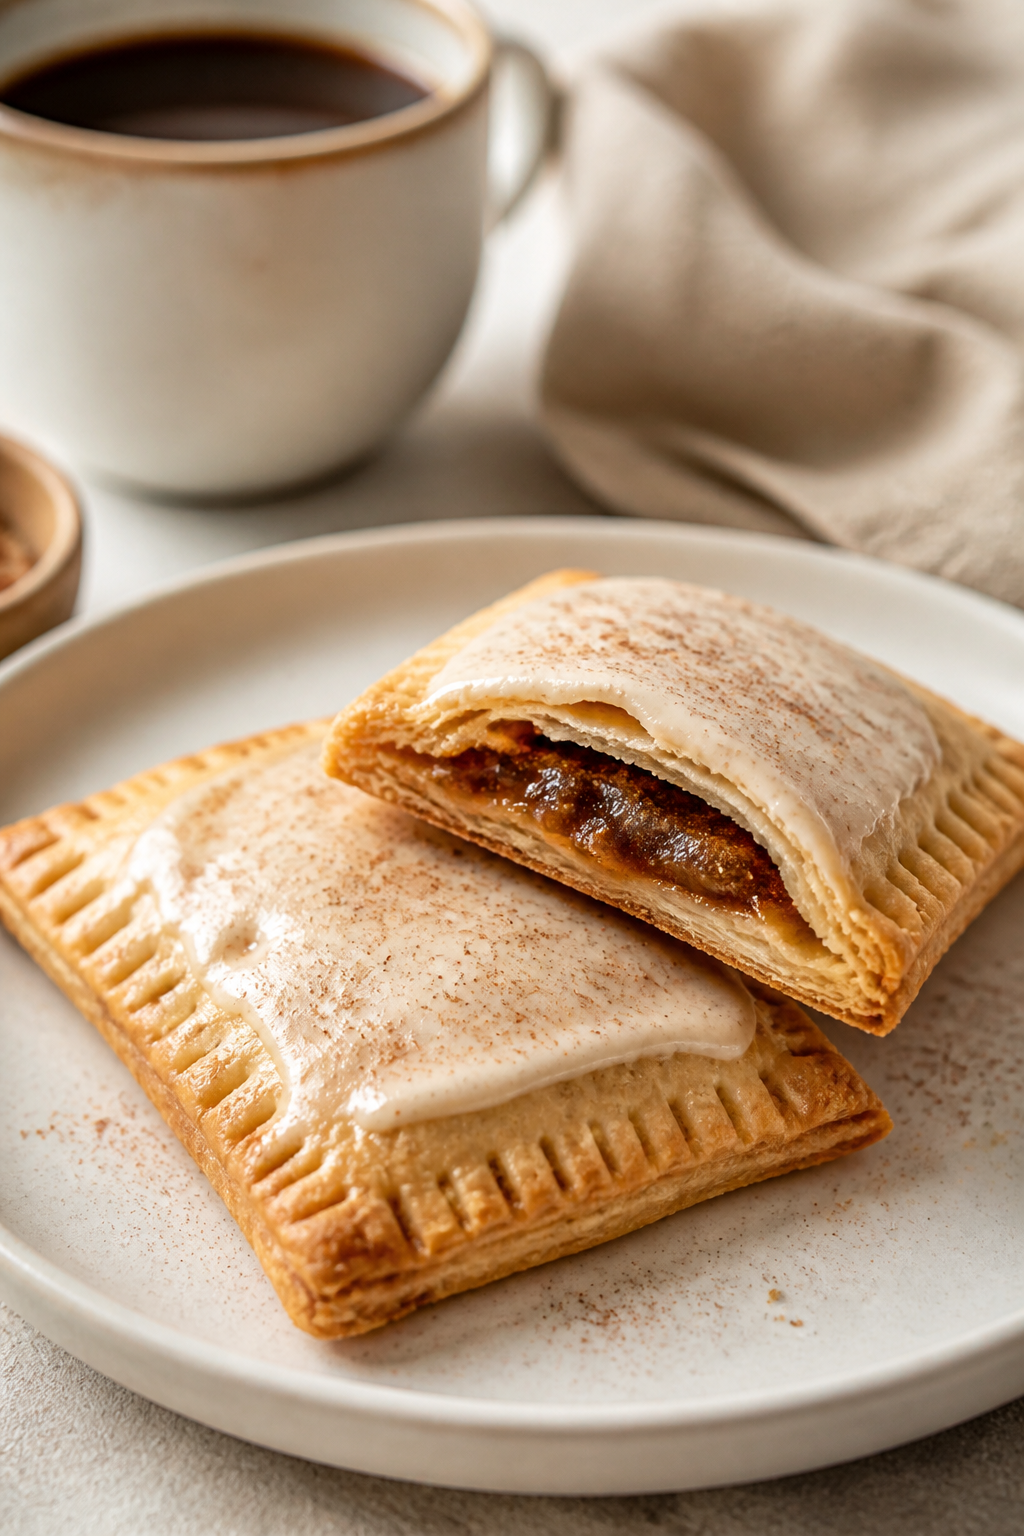
- Brown Sugar Cinnamon Classic: Fill with the cinnamon-sugar paste. Glaze with vanilla-cinnamon icing and a dusting of extra cinnamon.
- PB&J: Spread a thin layer of peanut butter and a small spoonful of grape or strawberry jam.
Add crushed peanuts on the glaze for crunch.
- Chocolate Hazelnut: Use chocolate hazelnut spread inside. Top with a cocoa glaze (powdered sugar + milk + 1 teaspoon cocoa powder).
- Berry Lemon: Blueberry jam inside, lemon glaze on top (add 1 teaspoon lemon zest and 1 tablespoon lemon juice to the icing).
- Apple Pie: Quick-cook diced apples with a pinch of cinnamon and sugar until just tender. Cool, then fill.
Dust the glaze with cinnamon sugar.
- Maple Pecan: Mix 2 tablespoons finely chopped toasted pecans into brown sugar filling. Glaze with maple syrup in place of some milk.
- Toaster-Friendly: Skip the glaze and sprinkle coarse sugar on the egg-washed tops before baking for easy toasting later.
FAQ
Can I use puff pastry instead of pie crust?
Yes, but the texture will be lighter and flakier, and the pastries can puff open if not sealed well. Bake at 400°F (200°C) and keep the filling amount small.
For a classic pop tart bite, pie crust is the better choice.
How do I keep the edges from opening?
Brush the bottom piece with egg wash, avoid overfilling, press out air before sealing, and crimp firmly with a fork. A quick chill (10 minutes in the fridge) before baking also helps the edges set.
My glaze is too runny. How do I fix it?
Whisk in more powdered sugar, a tablespoon at a time, until thick but spreadable.
If it’s too thick, add milk a few drops at a time. Aim for a slow ribbon when you lift the spoon.
Can I make these ahead?
Absolutely. Assemble and freeze unbaked pop tarts in a single layer, then store in a freezer bag.
Bake from frozen at 375°F (190°C) for a few extra minutes. You can also bake, cool, and freeze without the glaze, then glaze after reheating.
What if I don’t have an egg for the wash?
Use milk or cream for color, or a mix of milk and a little honey for shine. It won’t be quite as glossy, but it will still brown nicely and help seal the edges.
Do they work in a regular toaster?
If they’re unglazed and not overloaded with filling, yes.
Reheat on a low setting and watch closely. For glazed pop tarts, a toaster oven is safer so the icing doesn’t melt onto the coils.
Can I make them gluten-free?
Use a gluten-free pie crust dough that you trust and handle it gently—it can be more delicate. Chill the assembled pastries before baking to help them hold their shape.
Wrapping Up
Easy Homemade Pop Tarts with Pie Crust bring the fun of a favorite snack right into your kitchen with simple ingredients and a fast method.
They’re flaky, customizable, and perfect for making ahead. Once you try them with your ideal filling and glaze, you’ll see how easy it is to skip the box and bake your own. Make a batch this weekend and stash a few in the freezer—you’ll thank yourself on busy mornings.
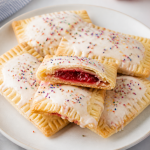
Easy Homemade Pop Tarts with Pie Crust – A Simple, Fun Breakfast Treat
Ingredients
- Pie crust: 2 refrigerated pie crusts (store-bought) or about 1 pound homemade pie dough
- Filling (choose one): 1/2 cup thick fruit jam or preserves (strawberry, raspberry, blueberry, or apricot)
- OR 1/2 cup chocolate hazelnut spread
- OR 1/2 cup cinnamon-sugar paste (2 tablespoons softened butter + 1/4 cup brown sugar + 1 teaspoon cinnamon)
- OR 1/2 cup peanut butter mixed with 2 tablespoons honey
- Cornstarch: 1–2 teaspoons (optional, to thicken runny jam)
- Egg wash: 1 egg beaten with 1 tablespoon milk or water
- For the glaze: 1 cup powdered sugar
- 1–2 tablespoons milk (or cream)
- 1/2 teaspoon vanilla extract
- Pinch of salt
- Optional: 1–2 teaspoons jam for a pink glaze, or 1/2 teaspoon cinnamon for a cinnamon glaze
- Sprinkles (optional but fun)
- Flour for dusting the counter
- Tools: rolling pin, baking sheet, parchment paper, fork, pastry brush, small knife or pizza cutter
Instructions
- Preheat the oven to 375°F (190°C). Line a baking sheet with parchment.
- Prep the filling. If your jam is runny, stir in 1 teaspoon cornstarch. If making cinnamon-sugar, mix the softened butter, brown sugar, and cinnamon until smooth.
- Roll the crust. Unroll pie crusts onto a lightly floured surface. Gently roll each one to an even 1/8-inch thickness and into more of a rectangle to minimize scraps.
- Cut rectangles. Use a ruler and a sharp knife or pizza cutter to cut 3×4-inch rectangles. Aim for 16 rectangles total (to make 8 pop tarts). Consistent sizing helps them seal well.
- Arrange bottoms. Place half the rectangles on the prepared baking sheet. Brush each with a light layer of egg wash, keeping a 1/4-inch border clean around the edges. This helps glue the top on.
- Add filling. Spoon about 1 to 1½ tablespoons filling into the center of each bottom piece. Don’t overfill. Leave that 1/4-inch border so the pop tarts don’t burst.
- Top and seal. Place a second rectangle over each. Press gently to remove air pockets, then use a fork to crimp all around the edges.
- Vent and brush. Use a knife to cut 2–3 small slits on top of each pastry. Brush the tops with the remaining egg wash for shine and color.
- Bake for 18–22 minutes, or until golden brown and crisp at the edges. If some filling leaks, that’s okay—it’ll still taste great.
- Cool before glazing. Let the pop tarts cool on the pan for 10 minutes, then transfer to a rack. They should be warm but not hot before you glaze.
- Make the glaze. Whisk powdered sugar, milk, vanilla, and a pinch of salt until smooth and spreadable. Adjust with a few drops more milk if needed. For flavor variations, whisk in jam or cinnamon.
- Glaze and decorate. Spoon or spread the glaze over the tops. Add sprinkles right away so they stick. Let set 10–15 minutes before serving.